2015

I haven’t blogged in a long time. Whenever my time is limited, I feel less inclined to write and I don’t have so much to blog about.

This might be my only post this year, who knows? No matter.

I haven’t stopped reading others’ blogs. And although I don’t make as many things as I would like, I’m still sewing and knitting. I mostly share craft on instagram, a platform I love. Which also means that almost all my photos are poor quality and taken on my phone – often at night and using a flash *gasp*. They don’t need to be anything else for the purposes of instagram, but it means they’ll be pretty average if you’re reading this on a proper screen.

Anyway, here’s some of what I made in 2015.

Summer 2015 (January – March)

The beanie was a swirl hat for Emlyn, who was then, but is not now, a wee one. The yarn was a lovely soft red 5ply, which I picked up at Bendigo woollen mills. It turns out that even Australian summer babies can use a little hat.

The maxi dress is a modified Closet Case Files Nettie maxie dress. I don’t have a better photo of it to show you the front, but I made the mid-neck, low back version, just extending the side seams to an appropriate length. I found the sewalong posts on Heather’s website very helpful. Nothing fancy in the pattern modification stakes. If I ever make the pattern again I will need to take some length out of the bodice and some width out of the centre back – it was really too long for me, has some pooling in the sway back and I really struggled to keep the shoulders *on* my shoulders, despite, as the picture shows, adding a kind of strap across the back.

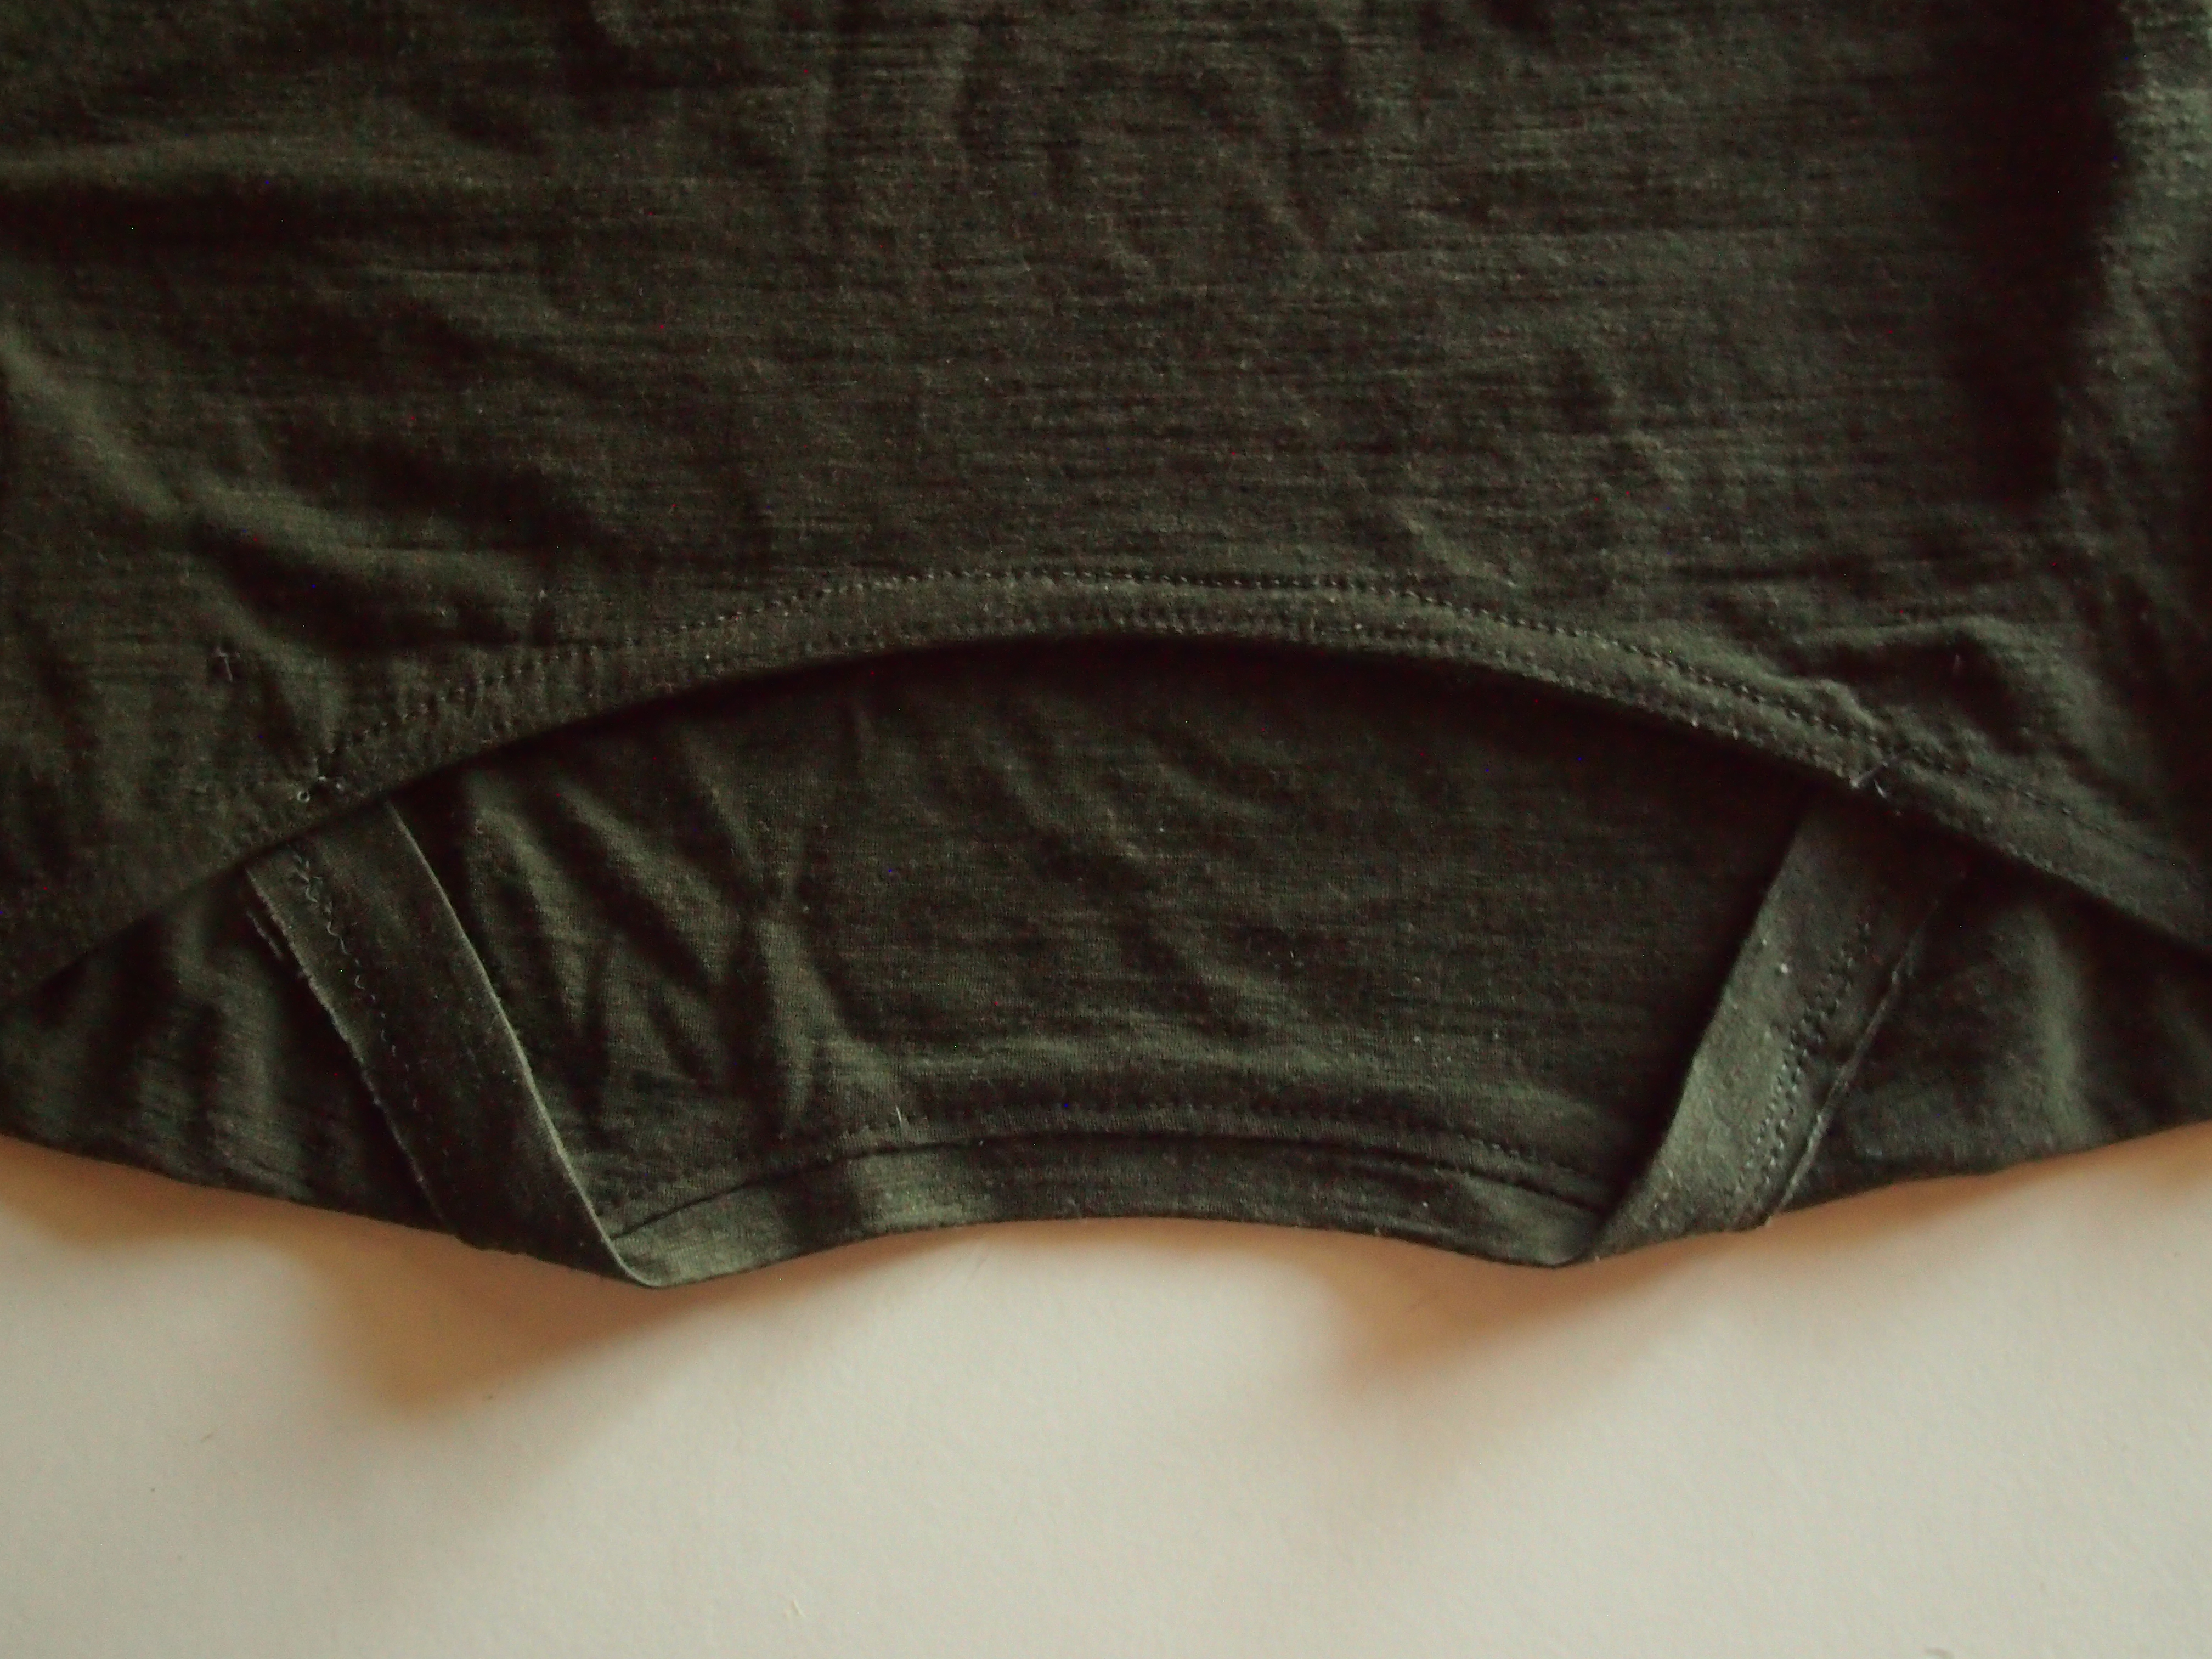
The fabric (a lovely soft cotton knit from Clear It) was a bitch to sew with. Stripe matching was a nightmare because it’s a double knit, with half-width stripes on the back layer of the fabric, (top picture) so you can’t actually see the front stripes while cutting. Consequently cutting the pattern pieces took approximately a million years and matching the side seams went better on one side than the other.

Nevertheless, this dress has had a lot of wear. Including late in 2015 while I was pregnant and a long stretchy dress was perfect for weekend wear. It managed to get around the bump if I pulled it up a little. I’m not sure whether it will fit me now or whether it’s stretched out of shape completely! Time will tell.

Finally, not pictured is a Closet Case Files bombshell swimsuit (view A), made in plum lycra purchased at Tessutti, because I wanted to be more like Amanda! The swimsuit is barely worn – it was late summer by the time I finished it, and by autumn I was pregnant. By the time spring rolled around and I was entering the world of aqua aerobics, it no longer fit. I haven’t been for a post-baby swim yet, but when I do I’ll be busting out these togs. For completeness’ sake I should say that having learned my lesson from the Nettie maxie, I shortened the bombshell bodice by about one inch. I also found that it needed a closer/more gathered fit in the elastic across the top of the bodice than provided for by the pattern. Although it’s possible this has something to do with my skills and not the pattern as drafted.

Autumn-Winter 2015 (April – August)

More presents for wee ones.

Mr Fox for the gorgeous Rafa. A Milo vest for beautiful Camille. No modifications to either pattern, except that I used wool leftover from my Peerie Floors (plus an extra khaki tweed colour I had bought for fun) to make the fox and therefore changed the colour scheme. I also replaced the buttons with embroidered eyes, because it was a present for such a little person. Yarn for the vest came from the stash, with one organic merino and one alpaca skein, both in a remarkably identical shade of raspberry. I didn’t love this pattern and found it difficult to follow, especially in the part where the yoke edges are joined under the armholes.


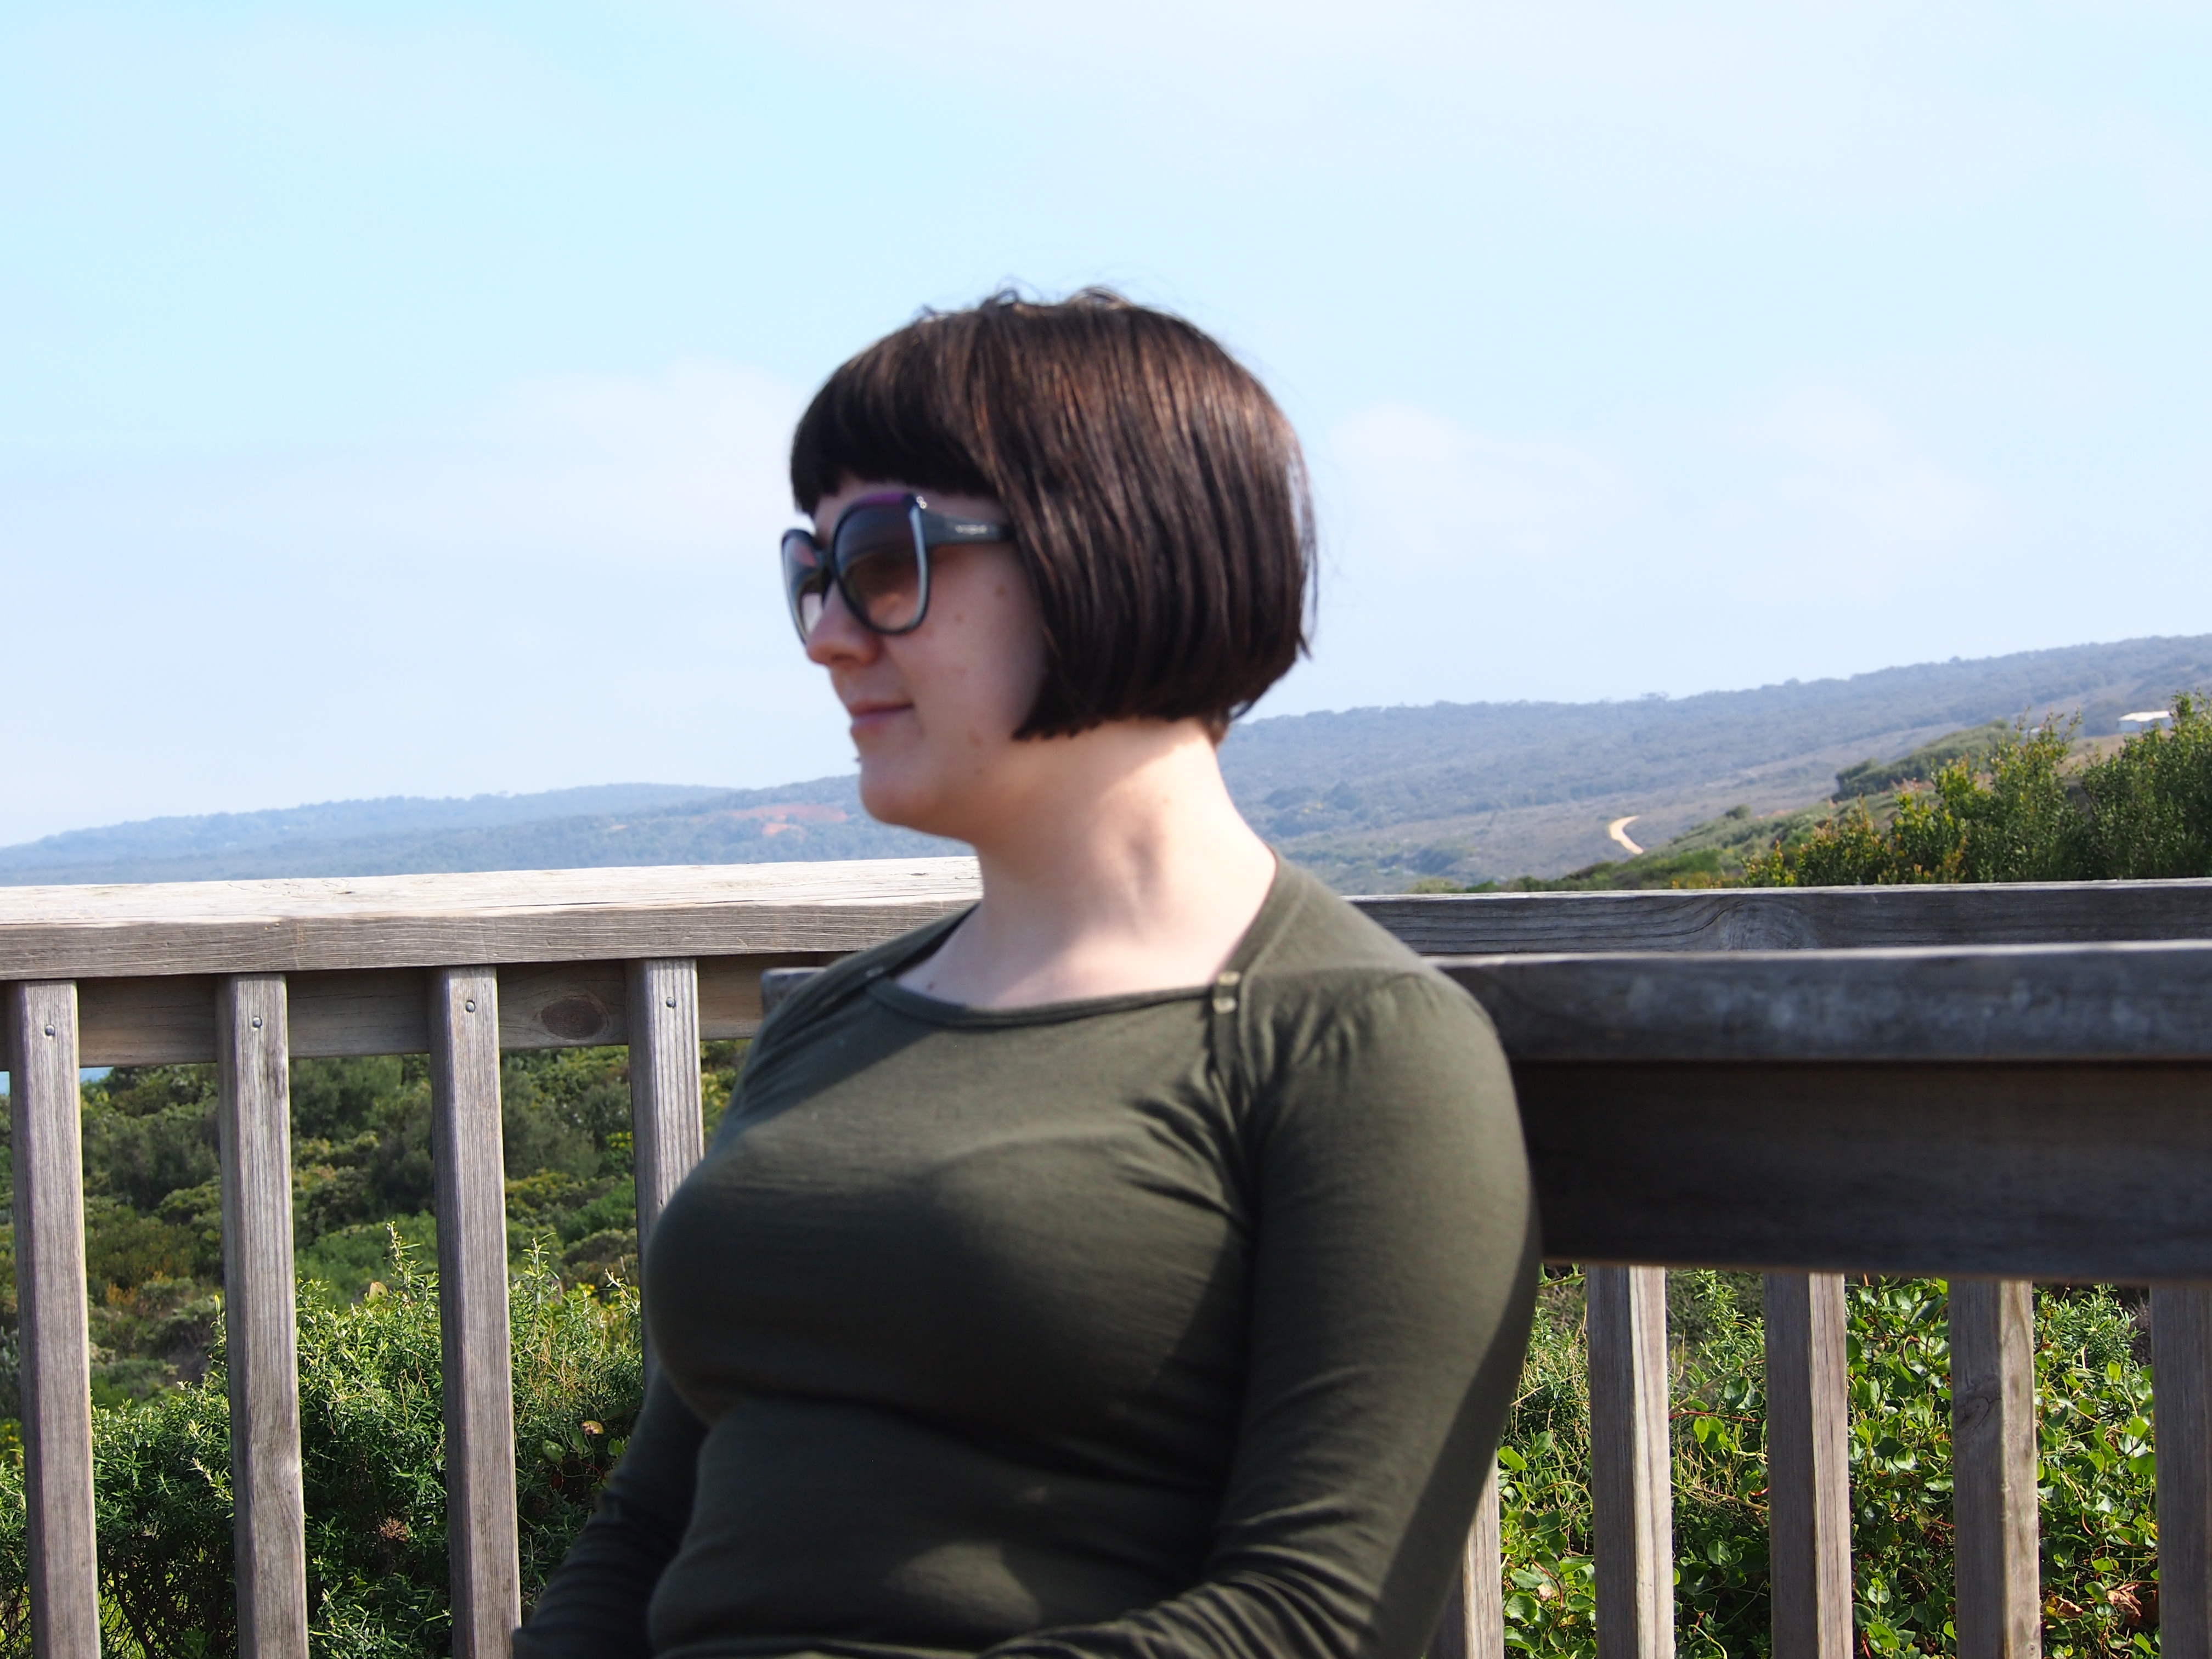
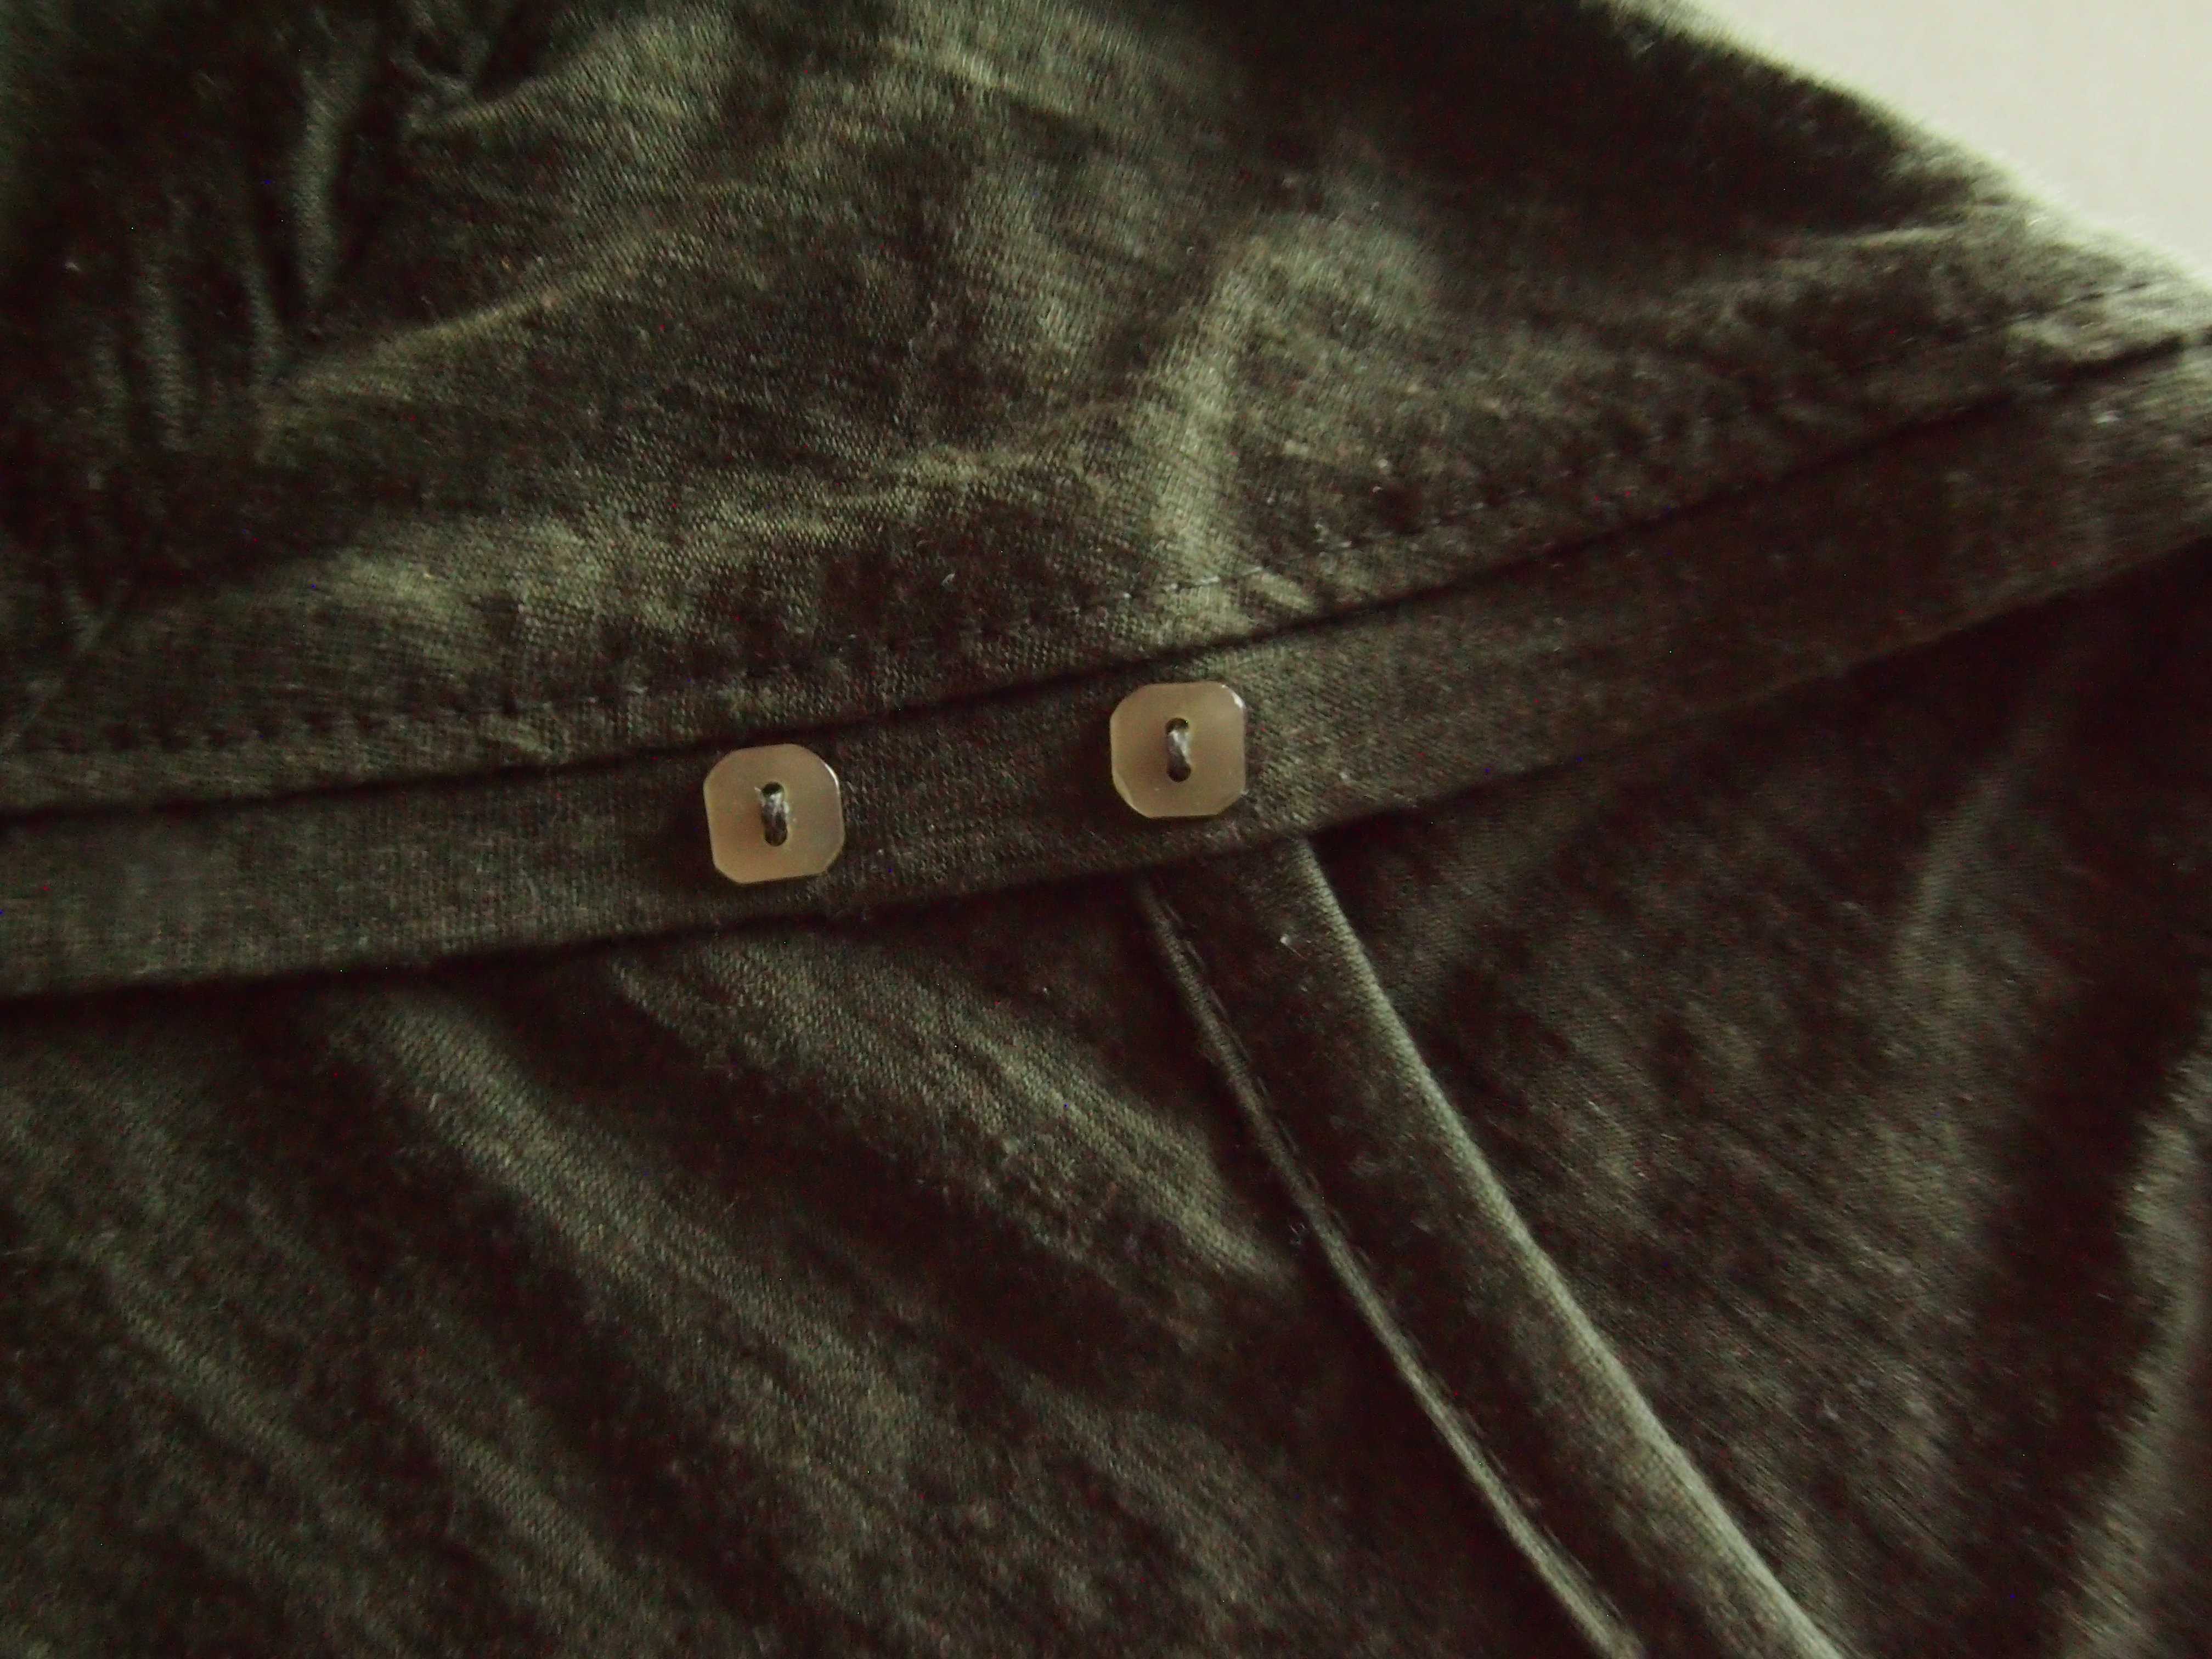
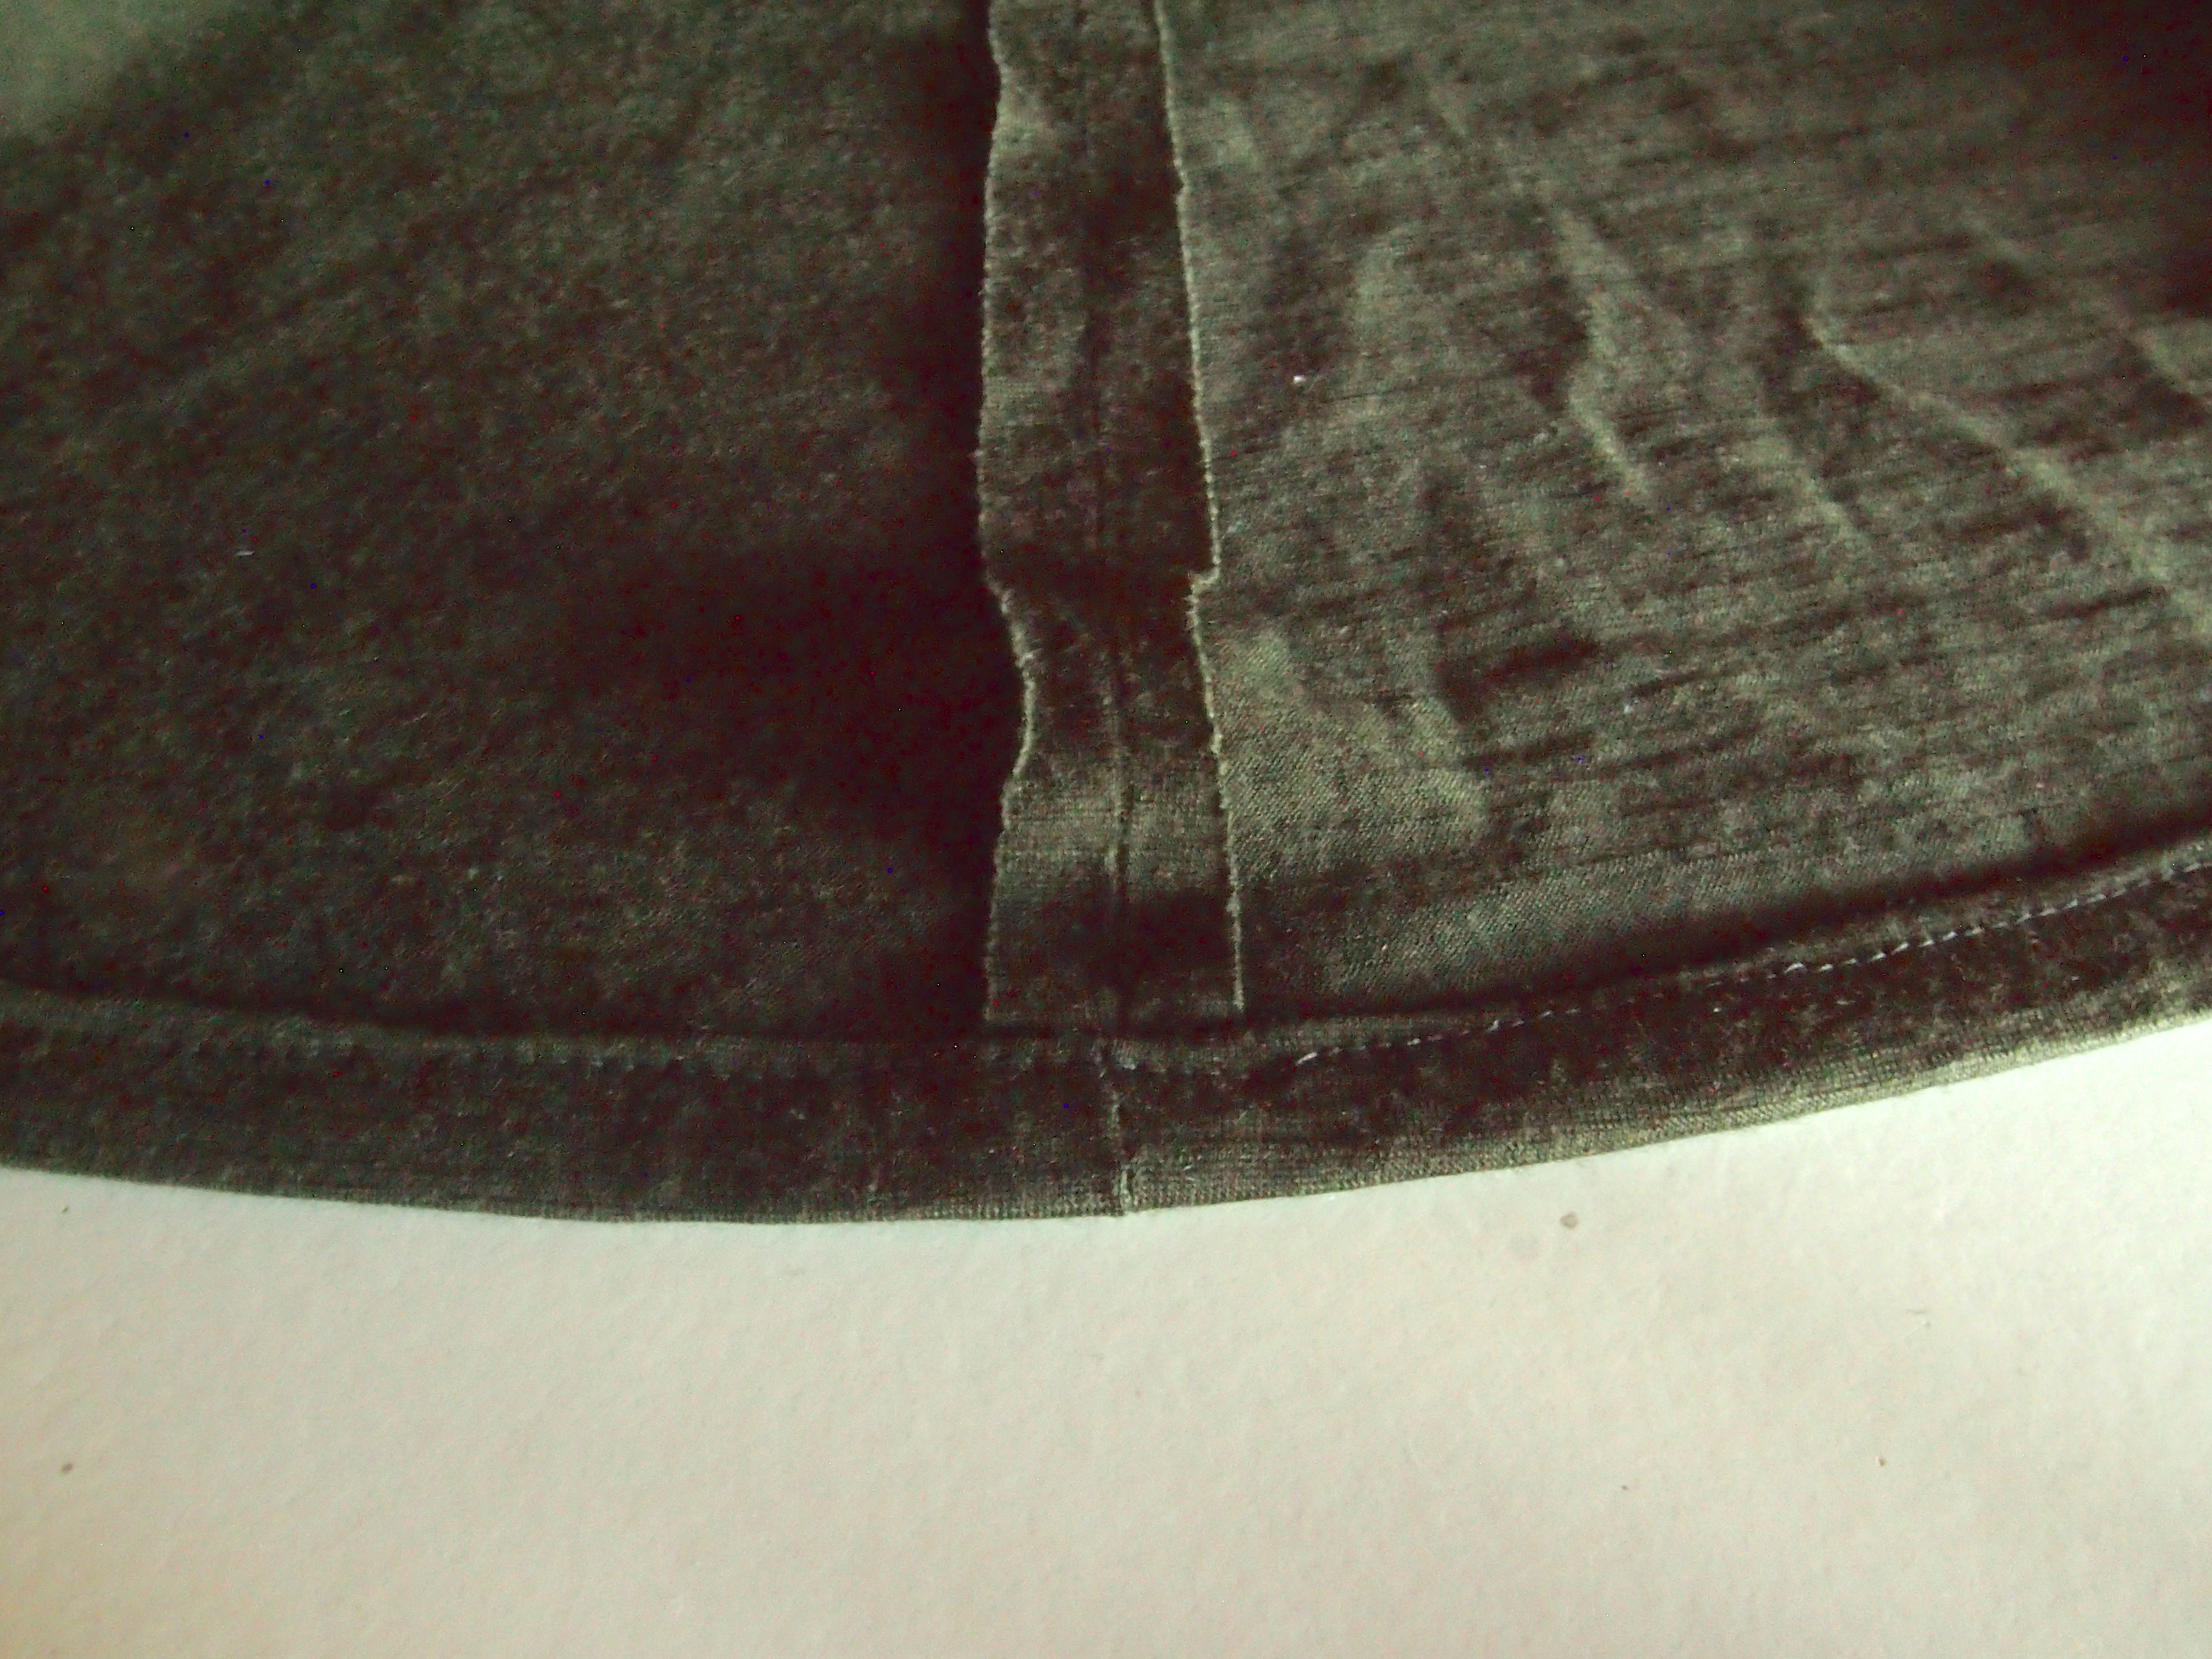
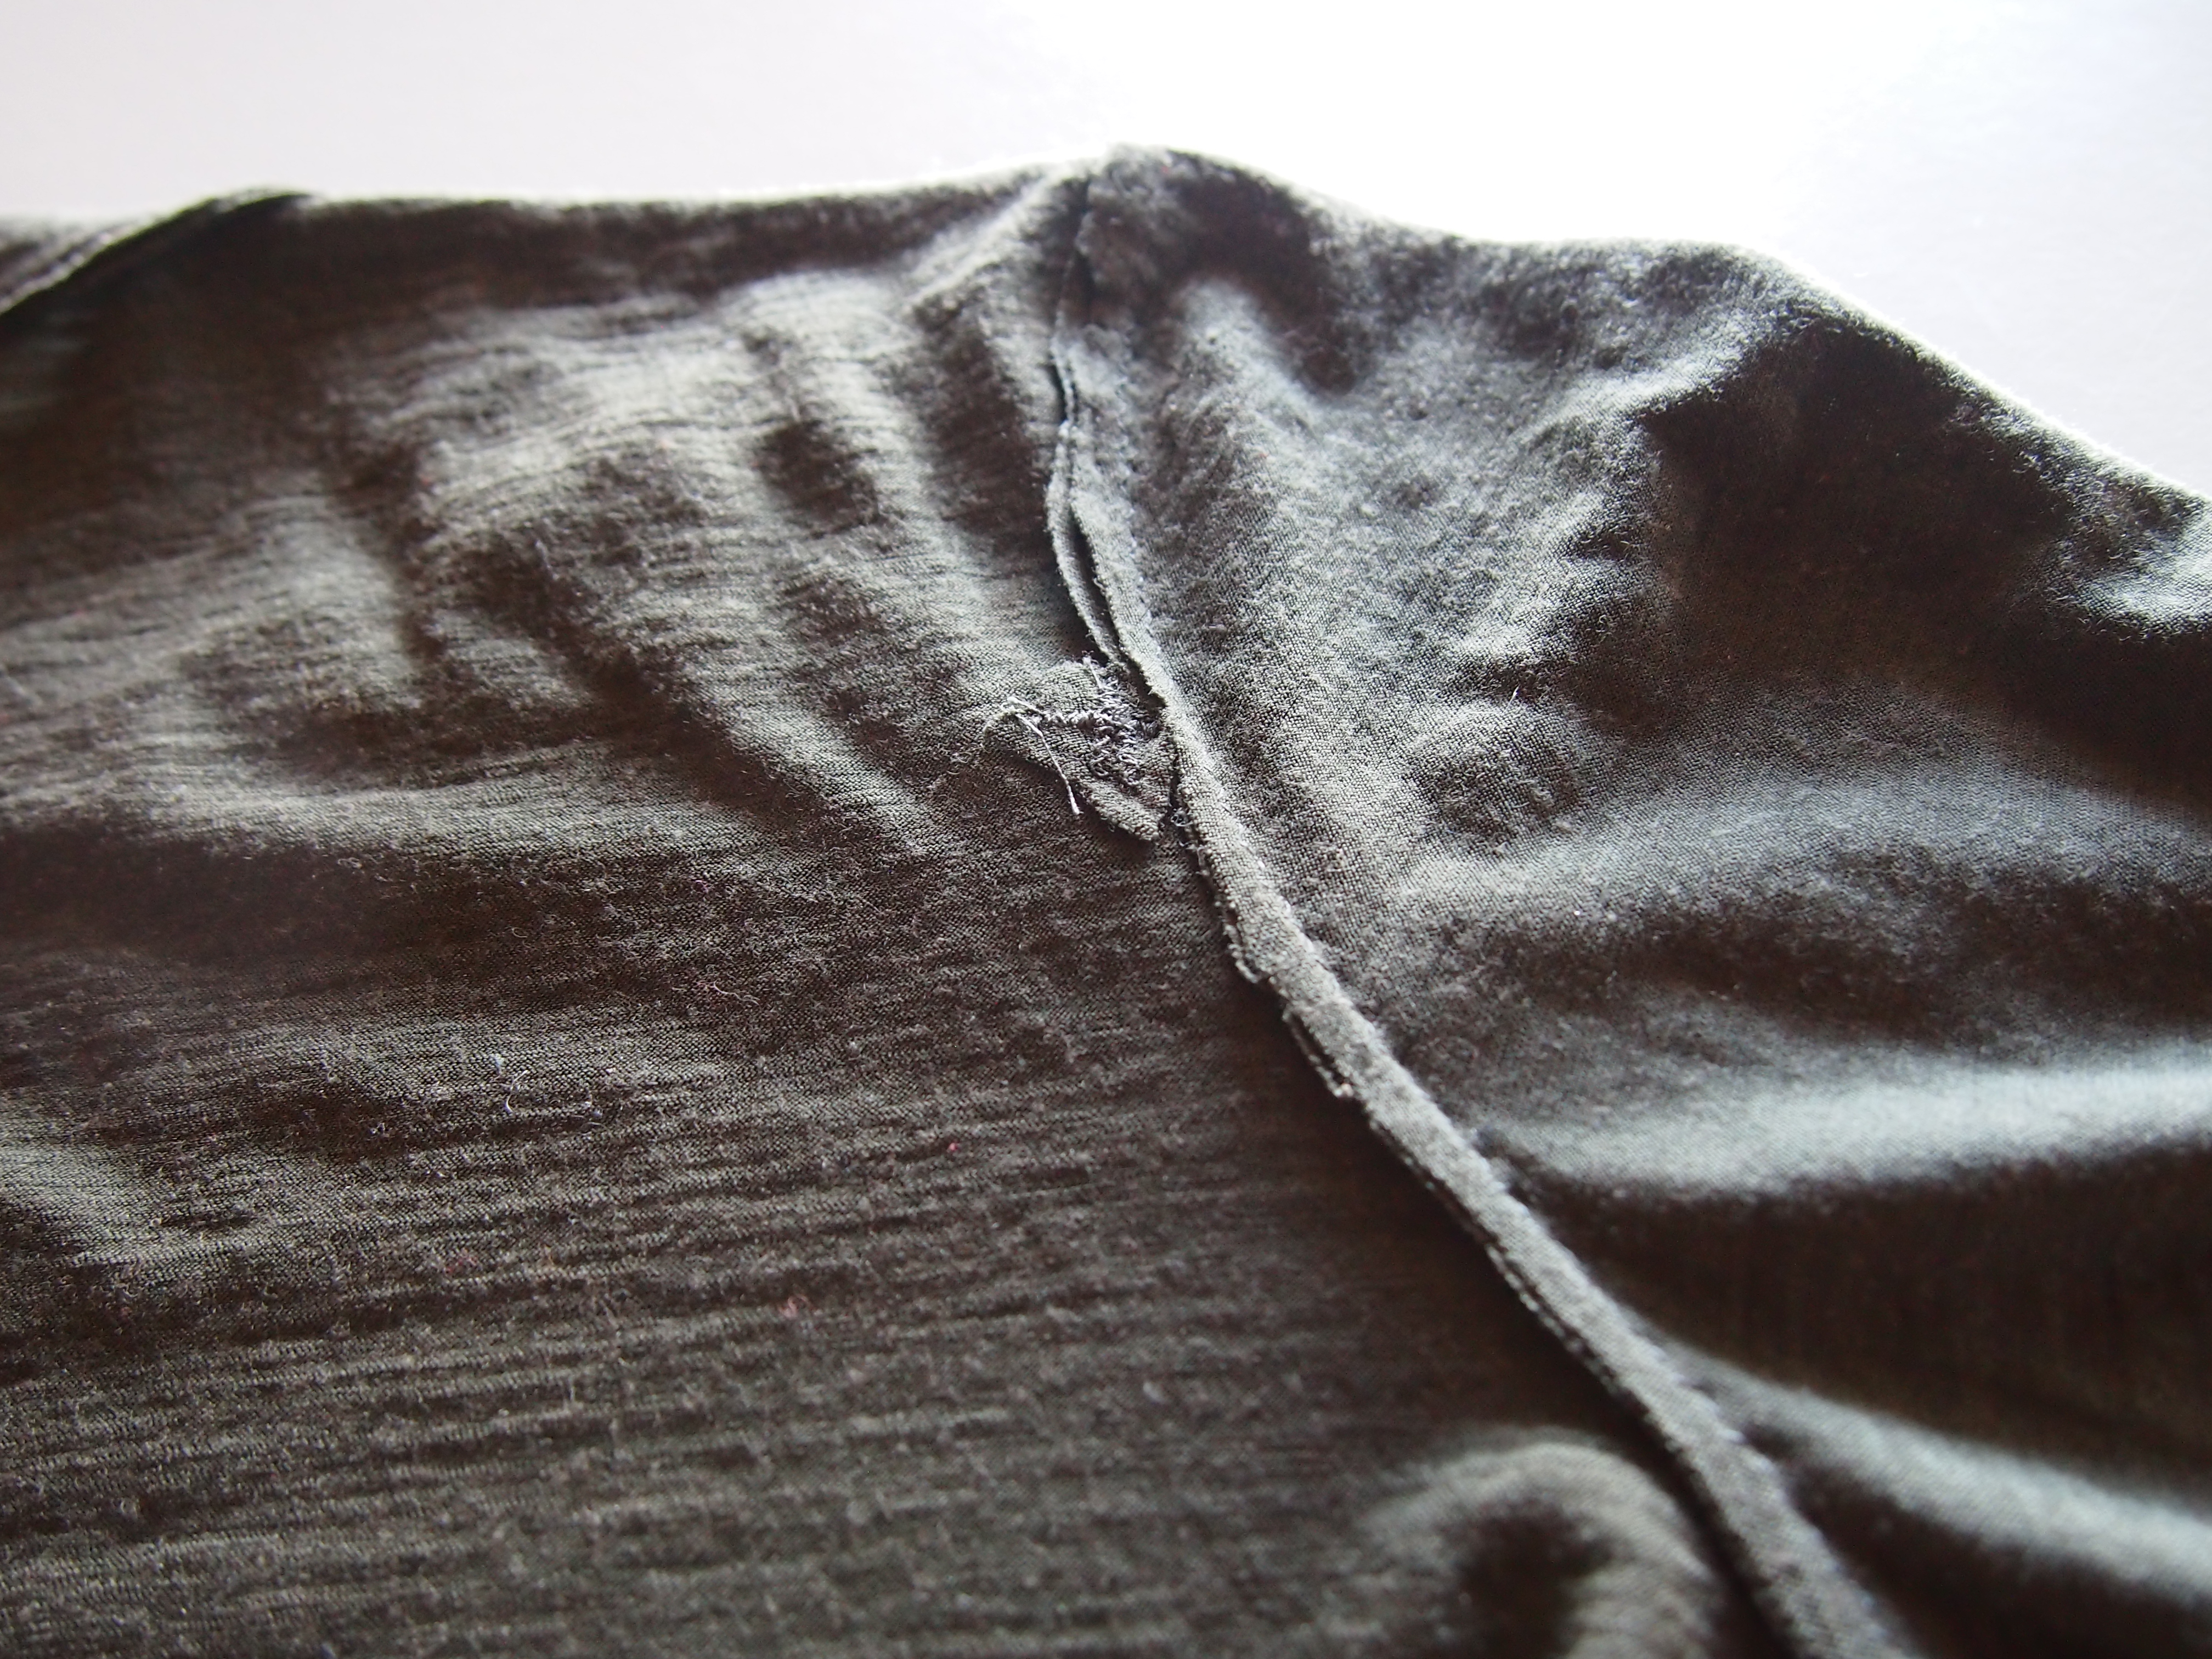
My love affair with the Bronte top continued and I made three in one weekend. One, with the reverse side of the stripey fabric above, for my Dees-loving friend on her birthday. Two, with some gorgeous black merino jersey from The Fabric Store. Third, with a cheaper blend jersey remnant, also from The Fabric Store. All three were finished with vintage buttons I have collected at various fairs and sales over the last few years. The two I made for myself had repeated and continuous wear to work throughout the year, until my size made wearing a normal length top inappropriate for modest company!

Later in the year, with a beautiful  teal-coloured ponte from The Fabric Store (fabric so squishy it was almost like a scuba knit or something), I made a dress which combined the Bronte neckline I love so much with the Megan Neilsen Erin Maternity Skirt. This dress also had a lot of wear for work in 2015. The neckline binding used the reverse side of the dress fabric, which was a dark charcoal colour, almost black. (Does the existence of a reverse side make it a double knit?)

And of course I made the MN maternity skirt as drafted, wearing it relentlessly for about 5 months. It went easily with a Bronte top and a suit jacket for work, or a singlet top and sandals on the weekend in summer. It continued to be comfortable to wear with a tshirt in the first few weeks after giving birth. I made this one in a beautiful hazel/grey/brown (how to define this colour??) Japanese wool-blend knit, also from The Fabric Store. The fabric was expensive but given the use I made of the skirt, it was worth every penny.

It seems my winter was quite productive, because in addition to the above, during a fabulous long weekend away with my crafternoon friends in June, I made two Colette Mabel skirts, a set of placemats made with a shashiko-print cotton from Okadaya in Tokyo, and a couple of wheat packs from corduroy from my late grandmother’s stash.

The Mabel skirts got a lot of wear through the second trimester. I knew I was pregnant when I made them, but they were made before I had much of a bump and using my usual measurements. I would say that the fit is too generous and I would in future size down. The floral one is simply too big – the fabric is a more relaxed knit than the other (both fabrics from Tessutti) and although I made what I thought was the appropriate size for my measurements, it’s really too big. This wasn’t a problem while I was pregnant, and is ok for casual days now, but won’t look right once I’m back to my regular shape. The other skirt was made using a beautiful thick ponte. The thickness of the fabric and tension in the knit seems to have helped it fit more firmly. Consequently this version had a lot more wear at work, including accompanied by either my black or purple suit jackets.


Spring/Summer 2015 (September – December 2015)

Here’s where the productivity slowed down!

IMG_1070

MN maternity wrap top + Mabel skirt

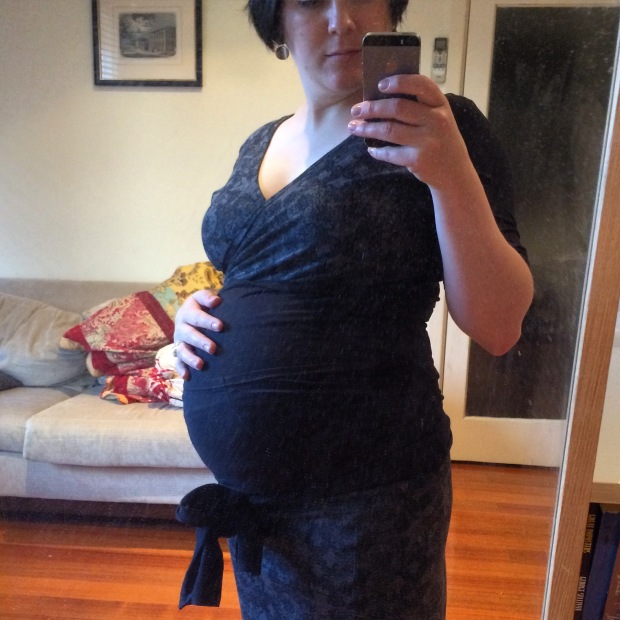
First up, a Megan Neilsen Alissa wrap top. I loved the look of this pattern and really looked forward to making it. But to be honest, I should have thought twice.

On the positive side, I did really like how the top looked. Without any modifications to the pattern, the bodice fit me very well and looked as I expected. I also managed to make it using remnants from my Mabel skirt, my black Bronte top and a MN maternity skirt I had previously made for a friend.

However, while the colour blocking using all of those remnants worked well enough, especially when I paired it with the matching Mabel skirt, this top is an absolute fabric guzzler. Those wrap ties use a *lot* of fabric. I know it specifies the requirements on the pattern envelope, but I hadn’t really visualised the quantity.

Those ties also make for a lot of time spent hemming. And with a knit fabric that curls at the edges and when you want to get neat lines because the edges of the ties will be visible at the front of your bump, this means enjoying a lot of quality time with your iron and pins. At this point I should note that hemming is my least favourite sewing task.

Finally, those ties also made the top fairly impractical to wear, in my opinion. If, like me, you wear stockings under your skirts for work, and if, like me, pregnancy means stockings which basically come up to your armpits, and if, like me, you need to use the loo approximately fifty times a day while pregnant, then rearranging the ties every time you go to the bathroom is a nightmare. You can’t unravel them completely because they’re so long they drag all over the bathroom floor. But without unravelling them, it’s hard to rearrange them in a way that ensures they sit flat and don’t leave any gaps across your tummy.

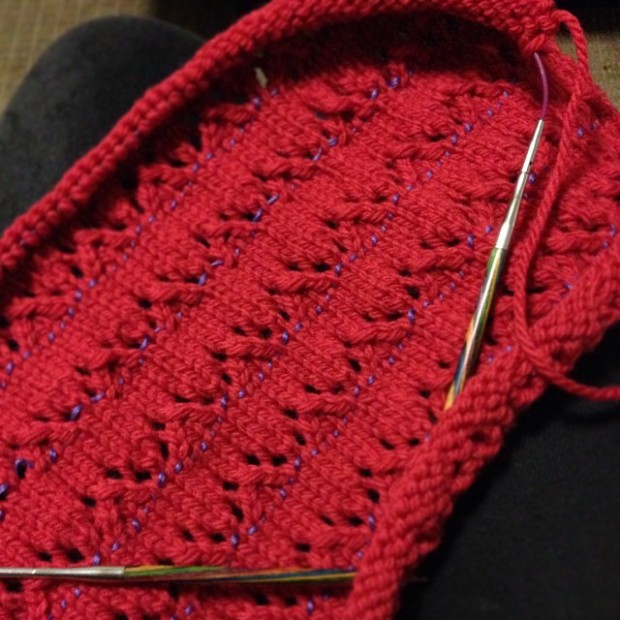
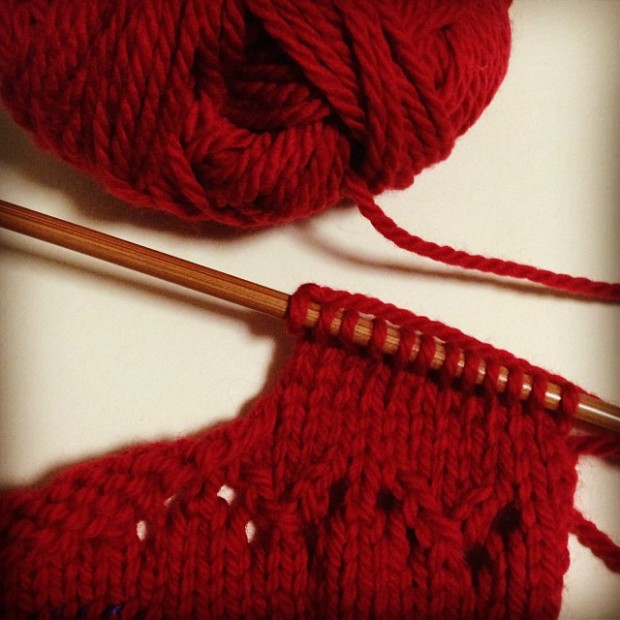
I finally decided it was time to finish knitting the basketweave blanket I started knitting over four years ago. It was originally intended for a friend’s baby. But that didn’t happen because I underestimated how long a blanket knit in 4-ply bamboo would take to knit. Last year, once I was pregnant, I figured my baby should get it – and I finally had the motivation required to finish knitting the dreaded thing. It has been well used by my baby already and I love it.

The cushions were sewn using Ink + Spindle kits and were a gift for my lovely assistant – part birthday, part housewarming. It surprised me how time consuming it ended up being to essentially sew two squares to each other. I’ve always found invisible zips a bit of a doddle, but somehow it took me four goes to put in one of these zips the right way round and looking ok and to get the seams either end of the zip looking neat. I was pretty tired by that point in the pregnancy (35+ weeks), was madly finishing up at work, approaching Christmas…all the usual things that might be expected to fry one’s brain.

Finally, the clayoquot toque. This was for my baby, because the midwives in my birthing class reckoned that even a summer baby in Australia could use a hat when they’re fresh out of the womb. As soon as I heard that I was off looking for patterns. I don’t really do pastels and I didn’t like most of the patterns I found for newborns.  I loved this one. It was easy to knit (except one row, which uses three colours carried across the row, making it very difficult to keep the tension even) and I like the bold pattern. It has already enjoyed a few outings on random cool days here in Melbourne.

That’s not everything, but it’s close enough for jazz. Night all.


Grainline Scout Woven Tee

I don’t know why it took me so long to get on the Grainline bandwagon. I’d been fangirlish in the reading and looking for a long time, but oddly enough, took a while to get around to making something.

Finally, recently, I jumped in and started with a scout woven tee. And then another.

Round one, testing for fit. I made one with an old shirt of Rob’s. When I say old, I mean, he’d worn it a few times, then torn it on a fence, so the fabric was still in really good nick. And made from red & black tartan/checked cotton. So exactly perfect. I used the back of the shirt to cut the front pattern piece for the scout. Partly because I wanted to get a good sense of fit with the dart-less pattern and also because I like buttons down the back…so the back of the blouse is cut from the front of his old shirt. And the original shirt sleeves had enough fabric in them for me to cut the sleeve pieces and the bias binding for the neckline.

I. Love. This. Top.

OLYMPUS DIGITAL CAMERA


I don’t yet have a decent photo of the button up back (complete with chest pocket!) but I’ll try and get one. The buttons aren’t sufficient to stop gaping in the back, so I’ll need to add some press-studs or something, but I still love it.

Onto round two. SILK SCOUT. And a lesson in why we can’t have nice things.

Problemo numero uno: the fit is really a bit on the generous side in the soft drapey fabric, compared with the cotton shirting. Also, I realised while sewing the second top that the pattern called for 3/8″ seam allowance, not 5/8″. I can’t remember for certain, but I have a sneaking suspicion that I sewed with a bigger SA on version one. All things considered, the fit is a bit on the ample side in version two.

Problemo numero due: I can’t be trusted with lovely fabric. I pre-washed it with a gentle detergent (Soak; same as I use for handknits). I don’t like to dryclean unless it’s absolutely necessary. After the first wear, the top bore a couple of mysterious small marks. I had no idea what and they looked a bit greasy, so off to the drycleaners. Came back spotless. Excellent. Second wear, getting ready for work, spilt porridge down my front while simultaneously eating breakfast and trying to read a case on my phone. I tried to wash it out immediately, but the mark remained, probably now also ruined by a water mark, notwithstanding my attempt to remove the stain, wash and dry immediately. So – in for another soak. Third wear, realised the porridge marks are still faintly visible and what’s more, I got deodorant on the top while I was putting it on.

Honestly.

There were a couple of minor other things – for instance, as you can see below, there’s a bit of pulling as I’ve eased the neckline binding in place, so it’s not perfect. A similar issue with one of the sleeves. But otherwise I’m happy with the sewing. French seamed everything. Invisible hand-stitched hem.

I love this top but if I ever want to wear it out again there’ll need to be some sort of miracle.

Here she is, in all her former glory.

The Cursed Scout

The Cursed Scout

The Cursed Scout

The Cursed Scout

Wow, what a face.

Shades of autumn in peerie flooers

~ little flowers in the old Shetland dialect ~

I took the colourwork class at Woolarium this winter. The project was Kate Davies’ Peerie Flooers. I decided to change the colours in my own hat. The original colours were beautiful but baby blue is not my jam.

The colours I went with are a little more autumnul than the original. Messing with Kate Davies’ design requires a stiff drink and a deep breath before you set off, but I do love the final colour palette. Ophelie le Chat, the teacher of the class, taught me that taking a grayscale photo of the yarn you’re thinking about will help you make sure you’ve got the balance and depth of colour right for fairisle. The same tip appeared this month on Brooklyn Tweed.

The main purpose of the class, really, was to help us become more comfortable with carrying more than one strand of yarn at a time. We practised by carrying both strands (for fairisle) in the one hand and kind of rotating the fingers each time you switch colours, while maintaining the same knit motion, keeping them untwisted as you go.

I didn’t find this too hard, but on the suggestion of Carolyn, aka knitting guru, I also tried knitting with my left hand continental for the alternate colour. It’s a bit less intuitive, but I do think that in the long run it’s more comfortable – I find it a bit less strain for my right hand and I found that I had a looser, but more even, gauge when knitting that way. It’s still slow for now but I think I’d stick with the half English/half Continental style in future. I feel I knit with a fairly tight tension, which you can tell if you go looking for the little orange pips in the centre of the flowers in this hat. Knitting with the half continental style seems to help keep the tension more comfortable.

Although I’m still pretty slow, I fell hard for fairisle. It’s not too stressful because you’re always knitting stockinette. Because you can take visual cues from the colour in the row below, I think it’s less difficult to work out your place and spot mistakes than when you’re working with lace patterns – but it’s still not entirely a mindless knit. And you just want to keep going to see the next pattern emerge!

I might feel differently once I knit something larger than a hat, but it’s all love at the moment! Also – Rowan fine tweed is a gorgeous yarn with beautiful colours and texture. I really enjoyed knitting with it.

So here’s my peerie floors.

OLYMPUS DIGITAL CAMERA

Idiot features

OLYMPUS DIGITAL CAMERA

Here’s the outside, pre-blocking:

OLYMPUS DIGITAL CAMERA

Fresh knitting, unblocked

And here it is after a short soak and a spot of sunlight, stretched over a pitcher:

OLYMPUS DIGITAL CAMERA

And a few more to highlight the crown decreases (which gave us a chance to really stretch our colourwork chart brains):

OLYMPUS DIGITAL CAMERA

OLYMPUS DIGITAL CAMERA

And here’s the guts. So. Many. Ends. I didn’t use any particular technique or tutorial for these. I didn’t do them as I went. I just sat down with a darning needle at the end for a good couple of hours and went for it. Nothing fancy, but it seems well enough.

OLYMPUS DIGITAL CAMERA

Not-really-recent finished knitted objects: Willard Mitts and Hetty Cardigan

There are a few things I’ve been wearing recently that I finished making aaaaaagggeees ago, but which I haven’t blogged about at all. Blogging requires brain space and motivation I rarely have after work these days and the weekends have been pretty full.

Lots of people will have seen little snaps of these items on instagramm already, because I can’t help myself. So here they are…

Little fingerless mitts, knitted over the Easter weekend from Spud & Chloe Outer, bought from Woolarium.

The pattern is from Knitbot Yoked, which I bought on a whim when I saw this version of the willard fair isle pullover (jumper) online .

Mitts

Mitts

This is the mitts while blocking. As you can see, I made some ridiculous mistakes.

1. Missed an entire pattern repeat. Didn’t even notice till it was all done.

2. Got the pips pattern somehow mixed up on glove two so the pattern doesn’t actually match up at the end of the round. Madness.

For something so little and simple I just couldn’t be bothered re-knitting them. And as it happened I have had a heap of wear out of them. The mistakes annoy me, but it’s ok!

OLYMPUS DIGITAL CAMERA

A couple of points about the pattern I would like to mention:

  • I have large man-hands and these are still a little on the big side!
  • The ‘pips’ pattern (my husband’s much nicer name for lice stitch) results in long floats carried across six stitches in each fair isle row – and an even longer float carried across the thumb increases. Yikes! Lots of long strands to stick your fingers through. On the second pair I tried to twist up the floats every few stitches, which definitely helped with the long floats issue, but doesn’t look as neat from the front really.
  • The pattern calls for a tubular cast on. I struggled to follow the pattern directions, so I looked up a few different instructions online and trialled some. In the end I settled on Ysolda Teague’s tubular cast-on method, which didn’t require cutting away any spare yarn.

Amazing that I could learn so much and stuff up so much in as little and speedy a project as this one. I have a lot to learn about knitting!

IMG_7526

Another long-term project which I finished just before winter and totally LOVE is my Andi Satterlund Hetty. I’ve posted about it before – here . It was knit in Melbourne, Tokyo, Osaka, Kyoto, Shiga Kogen and Yamanouchi Town in Nagano. It’s been knit sitting on the couch, over the Pacific, in the car and probably in a few pubs and cafes. It took a good while and I think some parts are better knit than other parts. The buttons are vintage glass buttons, from the Buttonmania sale last year. It’s extremely warm, so it won’t be long before it’s too warm for Australian weather. I made it in pure wool too, not cotton, and added full length to the sleeves, to make it properly warm.

I adore the Quince & Co Osprey wool. Not itchy at all, which surprised me because I have historically found all wool, including merino, to be very irritating. I took a bit of a gamble buying this wool and the low irritation levels from it prove to me that there is wool out there I’ll be able to wear – it just depends on the type of wool and I suppose the methods used to manufacture and dye the yarn.

So here’s the finished item. I love her.

OLYMPUS DIGITAL CAMERA

Embarrassing photo experimentation

OLYMPUS DIGITAL CAMERA

Is this timer working?

Nerdy camera face

Nerdy camera face

And here’s a few close ups of the finished cardigan while blocking. You’ll have to excuse the photos. I’m really taking a very long time to figure out how to use the camera properly.

OLYMPUS DIGITAL CAMERA

OLYMPUS DIGITAL CAMERA

OLYMPUS DIGITAL CAMERA

The little white bonnet that’s blocking is the Jane Richmond Earflap Baby Bonnet pattern. I’ve made it three times now! So quick, so easy and very cute.

And the little intarsia sample also blocking in the picture below are from a recent colourwork class I took at Woolarium.

OLYMPUS DIGITAL CAMERA

OLYMPUS DIGITAL CAMERA

Bronte top of awesome

An Ode to the Jennifer Lauren Vintage Bronte Top!

This top just about takes the cake as my favourite item I’ve ever made for myself. I think I wore it to work three times in the first week after I made it (sorry not sorry) – once with a suit and the other times just with regular skirt or pants.

It’s made from a very fine merino knit, which I bought on a spur-of-the-moment visit to the tessuti sale this winter. I specifically bought the fabric with this pattern in mind.

Whatever my views about self-published pattern designers, this pattern really impressed me. Maybe other knit patterns are the same and I just haven’t tried enough to be sure, but at each step I thought “Wow – Jennifer has really thought about this”. The size and shape of the neckline binding piece is millimetre perfect, which is very helpful for someone like me who tends to the slapdash when it’s a quick weekend project. I like maths, but the thought of the engineering involved in getting this exactly right, using stretchy fabric, kind of blows my mind. The thought that went into the placement of pattern pieces in the PDF for download is noticeable.  The instructions are easy to follow and guide you through the different issues you need to think about when sewing with knits. The whole thing just works.

But most importantly, I love the design. It appealed to me from the first time I laid eyes on it and now I want to make more! I like wearing fitted, stretchy tops in both winter and summer at work, because I can wear them comfortably under suit jackets and they work well with high waisted skirts and pants – I like to tuck in my shirts. And that neckline. So comfortable. And so flattering.

So here she is – the first of many, no doubt. I’m a bit dishevelled after a walk on the beach, but I couldn’t resist using holiday scenery as a backdrop. And I really haven’t mastered the camera, sorry. To borrow from Dolly Clackett, please ignore the derp face. Posing for photos is not one of my mini super powers.

Bronte Top at Urquart Bluff

Bronte Top at Urquart Bluff

OLYMPUS DIGITAL CAMERA


Close up of the best bit – the neckline, with vintage buttons bought (I think) from the Love Vintage Fair at Melbourne Exhibition Building last year. I’m a sucker for buttons.

Bronte top with Vintage Buttons

Bronte top with Vintage Buttons

I don’t own an overlocker, so I made the whole thing with my sewing machine – the old Singer, not the new precious. It went fine. I think I’d like to have slightly more stretch in the sleeve hems, but otherwise fine.

Here you can see the side seams (look, no seam finishings necessary!) and the waist hem, folded under twice and top stitched.

Bronte top hem

Bronte top hem


Finally – confession time. Two problems of my own making.

Problem the first: I accidentally nicked the fabric near the shoulder when I was trimming the armhole excess fabric around the seam. I patched from behind with a sliver of fabric and then zig zag stitched tightly in several directions across the snip, to hold the pieces together. Because the thread matches so closely, it’s barely visible on the outside (thank god). Here’s the inside.

Bronte top accidental snip!

Bronte top accidental snip!


Problem the second: the right side of this fabric has a very slight sheen to it. Unfortunately, I realised only after stitching the front binding of the neckline – perfectly! – that I had sewn it onto the wrong side of the fabric, so that the shiny side faced inwards. Doubtless only I would notice it, but I knew it would annoy me if I left it alone. So I had to sacrifice my PERFECT first ever stretch neckline by turning it over, a bit like finishing a neckline with bias binding, and top stitching it onto the correct side of the fabric. It’s a bit bulkier and I don’t like it as much as the way it’s written, but still sits ok. A la view from inside, below:

Bronte top guts - showing neckline binding

Bronte top guts – showing neckline binding

That’s all folks. If you have been hovering on the edge of making up this pattern, do it immediately. You won’t regret it.

Sewing and the Question of “Amateur”

For some time I’ve been troubled by the proliferation of sewing bloggers or other craftspeople selling their own books and publishing their own patterns. It’s not the Coletterie or Sewaholic books that have bothered me particularly. It’s all the others. And I have to confess, I think it comes from a suspicion that the sale of work by people who I assume are less qualified than others devalues the work of those who are qualified professionals in their craft.

Note, in the above sentence, the use of the words ‘suspicion’ and ‘assumption’. I am aware of my own bias!

Nonetheless, I’ve been trying to grapple with what it is exactly that troubles me. It seems to boil down to these general themes:

  1. I want the people who’ve dedicated their lives to perfecting their crafts or professions to make good money from it. Especially in a field dominated by women.
  2. Blogs provide a usually carefully curated window into reality. Making the craft about which you’re passionate your day job is not as easy as some websites might lead you to believe – and I resent what I perceive as that narrative, perpetuated by the existence of these books. (I say this despite reading the very genuine monthly “Behind the Scenes” posts on Sewaholic.com; or Tilly’s post on how she ‘got published’, for example.
  3. I’m bored of all the boiling-down-complicated-sewing-language-into-concepts-the-home-sewist-can-understand-and-oh-look-here’s-some-pretty-patterns literature.

Yet there’s an internal conflict going on as well:

  1. I like the idea of people creating something they love and sharing it with other people, without the constraints imposed by long-established and dominant institutions.
  2. I wouldn’t decide whether I liked a painting based on whether the artist had studied at the Paris School of Fine Arts or just practised drawing in their living room after work for a while. Nor would I decide whether I liked someone’s singing voice based on whether they’d first studied classical music at the Conservatory.
  3. I’m extremely envious of people who have the skills, perseverance and bravery to make a life out of their art.


Let’s have a look at number 1 above (in the first set of numbered bullets argh wordpress), because I think that’s at the heart of my internal dilemma.


I work in a profession that was historically dominated by men. I’m a lawyer. Women now make up more than 50% of law graduates in Australia. And yet report after report shows that women in the legal profession earn less money and don’t get promoted as quickly as their male colleagues. Women leave the legal profession in droves and for all the journal articles I read in the LIV journal, in my view it remains a profession which hasn’t really grappled with the idea of ‘family friendly’.


I’m tired of women earning less money than men in the legal profession, tired of hearing that women aren’t on company boards in anywhere near the proportion or men and while we’re at it – Sophia Vergara and the Emmys. What the actual fuck?


Anyway, I’ll get to the point. Sewing, my down-time fun and creative release. My legitimate excuse for daydreaming about clothes and fashion. Something tells me that dressmakers don’t make the same money as tailors (with the possible exception of haute couture designers). Maybe I’m wrong about that – please tell me if I am. The point is, pattern making and design is an industry that appears to be dominated by women, and I’m especially sensitive about the importance of valuing ‘women’s work’, be it child care, social work or dressmaking. It’s highly skilled work that I would like to see rewarded fairly. My concern is that if ‘amateur’ sewists produce patterns and sell them for profit, it devalues the skill of those who’ve trained at the same craft.


I suspect my antipathy grew exponentially upon receiving a Burdastyle weekly update email earlier this year with the subject line: “How to monetize your sewing”.


*Unsubscribe*


A brief article exploring similar ideas was published on the Design Trust (UK website) last year:


The idea is not unique to craft and sewing either. Take, for example, the apparent dichotomy between blogging and journalism. It’s a topic which is widely debated, but for now I’ll point you to a HuffPost article, to give you a sniff at the scope of the argument: Watching the Watchdog: Why Citizen Bloggers Aren’t Journalists.


Compare and contrast with this historical exposition published in Uppercase Magazine in 2012: As Carolyn Fraser so wonderfully describes in that article,

“the word amateur comes from the Latin – amator – lover. This is what lasts – that which we love. Our culture depends on it”.


Nor do I have a fixed idea of what ‘amateur’ means in this context. Does ‘professional’ include someone who’s done a TAFE or fashion school course in pattern making or fashion design? Do I bend the rules for those whose day job is in the fashion, fabric or design industry? Am I trying to impose the idea of professionalism upon this craft with an approach which is itself inherently patriarchal? Would I apply the same principals to amateur photography, independent record releases or baking?


So despite all my bleating, I still buy these items. I own Gerties’ New Book for Better Sewing and cannot wait for book 2 . I bought Jennifer Lauren’s beautiful Bronte pattern (finished object in a post to follow) and have barely taken it off since I snipped the last threads on the final seam.


I practically inhale sewing (and knitting) blogs on my feed reader – lying in bed, standing on the tram, lazing around on holidays. If a particular blogger’s writing voice annoys me or I just don’t find their style pleasing, I stop reading. Not that difficult. I probably won’t buy Lauren or Tilly’s books because they’re just not for me. But no doubt they have a place in someone else’s sewing library.


I hasten to point out that I don’t intend this as a personal criticism of any of the sewing creatives who are self-published pattern designers or authors. Particularly given I know so little about most of their respective backgrounds and qualifications.


Similar ideas fuel my response to Beth’s recent post about independent pattern designers. Why do I buy them? Well, principally because I’m a lefty sandal-wearing feminist hippy, obviously, and I’d rather die than buy from the Big 4.


OK that’s not entirely truthful, but there are similarities in my motivation to buy from Grainline or Closet Case Files – still haven’t bought the bombshell swimsuit pattern, must get onto that – or Papercut in preference to Vogue as in my preference for shopping for veggies at the market or greengrocer rather than Coles – the promotion and support of independent producers. (The ‘local’ aspect of my vegetable shopping habits is less readily transferable to sewing). But the other dominant reason is that I am continually inspired and empassioned by these independent designers and other creatives. I am inspired by their designs, writing, photos and sew-a-longs. I more often find patterns among the independent designers that match my personal taste and aesthetic. And frankly, the pattern envelopes on the Big 4 patterns mostly make me want to chunder.


At the end of the day, I have limited skills of my own with which to judge the quality of what I purchase. But I’m not alone. The online sewing community is a broad church and people are generally unafraid to provide their opinions and moreover, to constructively explore areas of difference between each other. There is little danger of going along uninformed! And if something I’ve bought has provided me with a good experience and helped me create something I love, I’ll tell everyone I know.


Thoughts and ideas welcome.


Knitting a cardigan

Anyone who follows me on instagram knows this cardigan has been a labour of love for a while now (and will have already seen some of the photos below). It’s on hold  temporarily while I work on a lace scarf (with the help of Woolarium) but I’m actually nearly there. It’s Andi Satturlund’s Hetty pattern .

I was careful about knitting a gauge swatch and blocking it properly. Thankfully, I came out right on track after blocking, as you can (kind of) see from the before and after shots.

Before blocking:

OLYMPUS DIGITAL CAMERA

OLYMPUS DIGITAL CAMERA

After blocking:

OLYMPUS DIGITAL CAMERA

OLYMPUS DIGITAL CAMERA

I’m using Quince & Co Opsrey in Winesap, from Suzy Hausfrau. And I LOVE it. Easy to work with and non-itchy, which was always a worry for me, because even soft merino makes me itch like crazy usually.

At least in relation to the back body piece, I was also careful to put in lifelines, which helped enormously. I actually think the process of being so careful with the lifelines meant I made fewer mistakes. It seemed to help my concentration (but cf the sleeves of doom later on, when I didn’t bother with lifelines and made mistakes constantly, causing much aggressive cursing as I ripped and tinked my way back…a lesson also learnt the hard way with my lace scarf). The lifelines are the purple embroidery cotton running through the repeats:

Hetty back

And because it was my first time ever knitting something so big and so complex, I wrote out the repeats row by row, to help me tick them off as I went. I would probably only need one small chart for myself to repeat in future, but I think it was a good way to start for my first cardigan.

Screenshot_8_12_2013_1_50_pm-3

And it turned out, this was a good discipline to keep, because once I got over the shoulders, into decrease land, I couldn’t get by without charting The. Whole. Pattern. Perhaps more experienced knitters get by without this. But I couldn’t manage to wrap my brain around the lace repeats and intermittent decreases and how to fit them in at the edges (without missing a yarn over or slip/slip/knit and ending up with the wrong number of stiches) unless I literally charted every row. I found it completely essential.

OLYMPUS DIGITAL CAMERA


OLYMPUS DIGITAL CAMERA

Picking up stitches for the seamless shoulder, and then shaping it with short rows, were both firsts for me. I’d never done either and I was pretty pleased with how it worked out:

Hetty shoulder


I found some online tutorials for this process really helpful. Fluff and Fuzz on short rows. Cotton and Cloud on short rows. And Purl Bee on short rows too. It’s picking up the wrap on the back row, which isn’t specified in the pattern, that I was a bit slow figuring out. But I don’t find it so challenging now.

This is where I’d gotten up to before leaving for Japan. You can see in the bottom picture there’s a mistake in the pattern, which I had to rip back and fix, but it’s under control now. By the time I got home from holidays at the end of January I had finished the body and the waistband ribbing and knit half of one sleeve. I’m now nearly finished the second sleeve and all that will be left is picking up and knitting the button band and neckline. It’s fascinating to see a seamless knitting pattern take shape and I can’t wait to finish.

OLYMPUS DIGITAL CAMERA

OLYMPUS DIGITAL CAMERA


Longest-WIP-in-the-Carita-Manas-catalogue

I swear I recognise your shape / Haunting, familiar, yet, I can’t seem to place it / Cannot find the candle of thought to light your hem /

Ok ok I’m not funny. But seriously, I started making this skirt in NOVEMBER 2009!!! It was the first garment I started sewing after taking a few beginner classes at Thread Den. I got to the point of finishing the waistband.

By the time I had my own sewing machine, a couple of years later, it didn’t fit me. So it sat in the unfinished pile of doom. Languished in fact. For almost five years.

I finally dragged it out to finish, before Japan last year. It’s made from beautiful wool from Tessuti. (in 2009). I eventually decided to sacrifice the front panel, cut a wider one, and add a creatively-named accidental ‘button tab’ to the waistband to extend its length. Not perfect, obviously. And the hem would be better hand sewn than machine stitched, but I was about to fly overseas so, you know, busy.

But I love it. And it gets a lot of use, so that’s the main thing.

OLYMPUS DIGITAL CAMERA


Did I mention I like Pearl Jam? Eddie Vedder on the brain…

Sailor shorts

I won’t lie. These shorts sat in an unfinished pile of doom for a long time. I had started making them last summer, prior to holidays at Aireys, but didn’t follow the instructions, stuffed up the front panel, stretched out the waistband and then got grumpy and put them away.

A little while ago I finally got the nerve to unpick them and inspect the damage. Turned out the waistband was salvageable with some careful re-pinning and slow stitching and I just needed to cut a new piece of facing for the front section and the damage could be fixed. Not so hard.

Buttonholes on the other hand…I have a beautiful old singer machine, courtesy girlprinter’s mum, but no buttonhole attachment = world of pain. And these shorts have two layers of almost-denim. In black. My eyes, my eyes!! Also, after 8 buttonholes I basically wanted to stab someone.

But they’ve done the trick this summer. Comfy and they fit reasonably well. The pattern is this one from Thread Den, for the second time. This one fits better than the last. But even though denim was a recommended fabric choice, I don’t think I’ll make them again and especially not in a heavy weight of fabric – it’s too many layers around the tummy. Underneath that front panel, the two sides of the waist meet and button, so there’s three layers with buttons right in the front of the pants.

Say hello to Tosca, who helped! In addition to the aforementioned Singer and the lovely Tosca, Girlprinter gets credit for the lovely sunny spot, these photos and my knitting skills, among other things.

OLYMPUS DIGITAL CAMERA

OLYMPUS DIGITAL CAMERA

OLYMPUS DIGITAL CAMERA

OLYMPUS DIGITAL CAMERA

Adventures in Japan

CK&RC

I barely know where to start with this post. Believe me when I tell you that the selection of photos I’m including in this post is edited down. I’ll focus on the sewing & knitting inspiration for today. I will need an entirely separate post to chronicle the beautiful kimono I brought home.

We were in Japan for a little over two weeks. It was around new years, which, as it happened, put a real dent in our usual travel itinerary. Because of the public holidays either side of new year (shogatsu) there was a lot that wasn’t open while we were there. Out-of-the-way fabric stores fell into that category. As did museums, art galleries and other public places which in other countries are more likely to be buzzing over the holidays. Nonetheless, we found plenty of adventures. We ate all the a lot of ramen. We wandered the main streets of many prefectures. We went skiing. We saw snow monkeys. We loved the trains and the noise and the people and the onsen and the food. Everything about Japan was wonderful (with the possible exception of its coffee!). I would go back in a heartbeat.

You could, over two weeks of travel, easily spend most of your time doing crafty things. Exploring giant stationery stores, gazing at art, learning about calligraphy and hanko and kimono. And of course, spending all your pocket money on yarn and fabric. I didn’t buy a copy of the Tokyo Craft Guide (although if you’re going to spend two weeks doing crafty things, you probably should) but I did refer often to the posts on its blog. I was also lucky enough to have Gillian’s top tips for Japan fabric shopping, which was wonderful! There’s also a good shortlist on Tomatoes & Jasmine.

So, even though my husband is threatening to make me start a ‘pointless walk jar’ for all the trips to closed fabric shops that marked our travels, you will see from the post to follow that I wasn’t really deprived.

avril night

Kichijoji

Just go there. Seriously. It’s twenty minutes from Shinjuku on the train. And it’s gorgeous. Old, new, cute, big, noise, mess and fun. For the Melbournians, it’s the nearest thing to Fitzroy you could imagine in Tokyo.

In Kichijoji I spent an absurd amount of money on about 3 buttons [*cough* worth it *cough*] and had several small brain explosions in Avril Yarn Store.

Beautiful vintage buttons from L.Musée:

black buttons

blue buttons

Avril was a beautiful store to visit. Many threads and yarns for weaving, probably more so than for knitting or crochet, but such fun to look at!

avril1

avril3

avril4

I came away with a 200g cone of wool/silk “Peinee” yarn in mist.

wool cone

wool

I also popped into Yuzawaya on a separate trip to Kichijoji. It’s big. It’s got pretty much everything. It takes up about 3 floors of a big department store building. And it does have some really stunning fabrics. But I was a bit tired and grumbly and at the end of a long day when I visited this shop, so didn’t leave with anything. I did, however, enjoy some eye candy. Corduroy Liberty for goodness’ sake!!

liberty

tailoring

liberty2

Unfortunately Cottonfield (Gillian’s favourite fabric store!) had closed down before I visited, but apparently they still have a notions shop in Kichijoji and if the reviews of the original fabric store are anything to go by, I’m sure it’s lovely. Worth a visit if you can find the time (which I could not)!

Other fun things in Tokyo

Rob and I dedicated one morning to choose our own adventures. Rob set off for Akihabara (electronics town) while I set out for the famous Nippori Fabric Town. A whole street of fabric stores! Zip shops. Button shops. Second hand fabric. I wore a backpack and sensible shoes, took the camera and prepared to be overwhelmed.

I followed the signs from the train station…

nippori

…and looked out for the bunting and a street lined with tables of fabric…

nippori2

nippori3

…but alas that was the extent of my adventure. Tomato, the biggest store there, had closed for the new year break (the dates were on the website, but I misread them aaarrrgh) and just about everything else was closed too. So that was that. I’ll save it up for the next Japan adventure.

Continuing along the theme of events causing epic stroppiness, I decided to try and find Odakaya in Shinjuku before meeting Rob as planned. I had no WiFi on my own, got lost in the wrong bit of Shinjuku station and tried to rely on the kind directions given by a cafe waitress in half-Japanese-half-English…and failed badly! I did find Odakaya later, with the help of Rob’s WiFi, but to be honest I was underwhelmed. And I would recommend looking at some blogs which offer directions on how to get there, because I found it a bit tricky!

In Things Which Are More Fun, on a later part of the trip we visited Harajuku. We had fantastic ramen, on Spicy’s recommendation, and then bustled through the busy streets with (it seemed) half of Tokyo. We accidentally stumbled upon a pop up shop in front of the bank on a busy corner, selling second hand kimono, yukata, haori, obi and fabric scraps. And seriously, for cheap. I unwittingly picked some Meiji-era kimono and bought them for a stupidly cheap price and will blog about them another time in reverential tones. But for now, here is the shop and a picture of some yukata fabric offcuts I bought there:

harujuku2

harajuku3

yukata fabric

If you’re interested, a yukata is a cotton kimono for wearing around the house. They were provided as part of our stay in our little ryokan in Kyoto, as demonstrated in the next photo. I was in love!

yukata kyoto

Finally, while in Tokyo, I should mention the La Droguerie and 100 Idees outlets in the Seibu Department Store, Shibuya. Knitters, be warned: La Droguerie is pretty! I didn’t buy anything there in the end, but I did stop to take photos of the beautiful store:

yarn-shibuya

yarn-shibuya2

yarn-shibuya4

In the 100 Idees section of the Department store, I did take the opportunity to snap up some Clover bits and pieces for much better prices than at home.

rotary cutter

embroidery scissors

ruler

Kyoto

In Kyoto, there were a couple of places I wanted to visit (such as Habu Textiles) which simply weren’t open. However, I did find the Shijo Nomura Tailor Store, which was as excellent as several reviews had promised.

Several floors of fashion fabric. Walls of buttons. Long sections of remnants. Quilted materials. Fleecy plaid. Felt. Sparkles. Nani Iro. Liberty of London. Stripes, spots, tartan, floral – they had everything. Somehow, unlike some of the other big stores I’ve been to (both at home and in Tokyo – like Odakaya and Yuzawaya) I felt really inspired here. Maybe the fluorescent lights weren’t so blinding. Maybe it was because it was my first morning in gorgeous Kyoto. Maybe it was the fact that things were a bit more orderly. I don’t know. It was just such a great shop and I’m glad that Rob had me on a time limit, or I may not have emerged.

This is the shop:

kyoto2

kyoto4

kyoto5

kyoto6

And these are the treasures I brought home:

striped knit

tartan

After the fabric shopping, we had a lovely lunch around the corner (with beer, naturally) and then rambled through Nishiki markets. Which were amazing. So many pickles. More chopstick shops than you’ve ever seen. Robert bought his own seal. I bought some snips.

snips

Aren’t they gorgeous? They came in a little paper box and wrapped in gingham-patterned paper, which did somewhat add to the charm. Between the snips, the embroidery scissors and the rotary cutter which were now in my suitcase, I was beginning to wonder whether I’d be allowed on the shinkansen back to Tokyo.

The source of the pointless walk jar remark above was our trip to the Nani Iro Atelier in Osaka, which was closed when we got there. And, as Rob remarked, there was not a single other person on the street, which he didn’t think was possible. Someone please go there and tell me whether it’s as awesome as it sounds!!

nani iro

No visit to Japan is complete without reference to stationery. Please be sure to visit Ito-ya. You won’t regret it.

origami

pens

And finally, because everywhere we went there was something beautiful, here are some examples from an ikebana installation in Rappongi Hills. Because in Japan, they just do things right.

ikebana

ikebana2

To Japan: arigato gozaimasu. You were wonderful. x